DIY: Halloween Perler
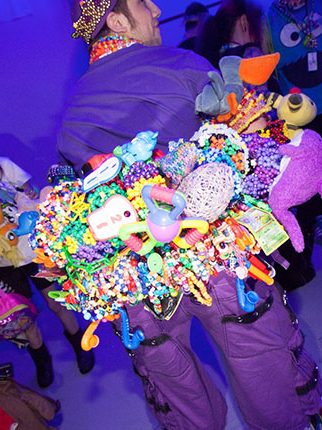
Perlers: They’re on nearly every piece of super-customized, one-of-a-kind kandi. Although they may not look like it, perlers are simple to create; and this tutorial will teach you exactly how to make one. Once you’re done, attach your perler to any piece of kandi or other rave gear to add some extra personality to your outfit.
Supplies needed:
Perler pattern (there are tons online)
Pegboard
Pegboard beads
Iron
Parchment or wax paper
Tweezers or some other tool to place the beads
Step 1
Set up your workspace. Use a hard, flat surface, rather than a carpet or rug; a little bump will send your beads flying off the board. Get your perler bead colors and pattern next to you so you are ready to work. Looking at your pattern, take one bead and place it on the pegboard.

Step 2
To start creating your perler, I recommend making the outline of the pattern first and then placing all the beads of one color before switching to the next.

Step 3
Continue to place more beads onto the pegboard following your pattern.

Step 4
Once you are finished, put a piece of wax or parchment paper over the design so it is covered completely. Put your iron on a medium to high setting, and iron the beads on top of the paper so that they fuse together. Make sure that the beads are solidly fused together so that the perler doesn’t fall apart when you flip it over. After you finish one side, wait for the perler to cool down before you begin ironing the other side. Put something heavy on top of the perler while it is cooling so that it doesn’t curl (unless you want to bend it for a cuff). Then put the piece of paper on the other side and repeat the process.

Step 5
Once your design has cooled off, it is complete and ready to be used however you’d like.
See the 3D Kandi Cuff Tutorial


