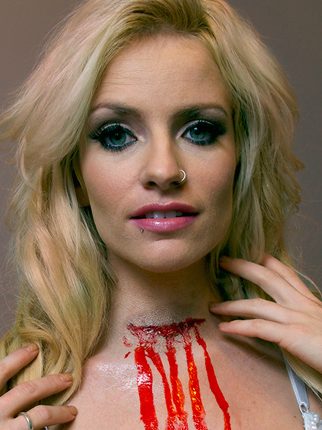
DIY: Zombie Look
If you want to take your Escape: All Hallows’ Eve look to the next level, a banging costume and flawless makeup won’t be enough. Add wounds, gashes and fake blood to make your look especially top-notch. Whether you choose to be a zombie, or any other not-so-dead character, you can use the techniques shown below to achieve your look.
Design by Just Lust
Makeup by Brina Z
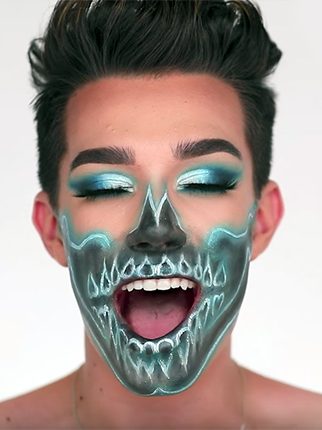
Zombie Makeup
Items needed:
• Liquid latex (optional)
• Fake scar or scar putty
• Face powder
• Red face paint
• Dark red or burgundy lip paint or gloss
• Fake blood
• Red or purple eye shadow
• Disposable sponge or brush
• Eye shadow brush
• Powder brush or powder sponge
• Cosmetic spatula or plastic spoon
• Q-tips
Step 1

Apply the red or purple eye shadow all around your eyes with the eye shadow brush.
Step 2 (optional)

Using your disposable sponge or brush, apply a layer of liquid latex on the area where you want to create the bite. This is optional but helps with removing the fake wound afterward.
Step 3

Using your cosmetic spatula or plastic spoon, apply fake scar or scar putty in a circle, smoothing edges into the skin and leaving the ring thick.
Step 4

Set the fake scar and liquid latex area with face powder using the powder brush.
Step 5

Using the back-end of your plastic spoon or spatula, create teeth marks in the thickest parts of the fake scar.
Step 6

Using a Q-tip, apply red face paint into the teeth marks.
Step 7

Using a Q-tip, dab dark red or burgundy lip paint or gloss over the red face paint. Then, apply fake blood over the teeth marks.
Zombie Bra
Items needed:
• White bra
• Green ruffled trim
• Pink sequin strand
• Four 2-inch black satin rope pieces
• Pink satin rope
• Green beaded necklace
• Paintbrush
• Glue gun
Step 1

Glue the green ruffled trim to the top edge of the bra.
Step 2

Glue the pink sequin strand to the center of the green ruffled trim.
Step 3

Glue the two-inch black satin rope pieces along the bottom of the green ruffled trim in the shape of an “X” to form a stitched look.
Step 4

Glue the pink satin rope along the outsides of the cups.
Step 5

Glue the green beaded necklace from the center edges of one cup to the other, making a “U” shape.
Step 6

Dip the paintbrush (and your fingers) into the red paint. Smear the red paint to make it appear like blood. Go crazy!
Share
Tags
You might also like